You just keep adding strips to each length--but wait--at some point, all those strips need to be the same length, so once back into the sewing room, I took time to count each red connector square and stacked each into appropriate pile--36 here, 30 here, etc. Okay, that helps!
Now, lay out the strips to see if we can make sense of this madness--oh, no! this can not be right!
Must refer to the book instructions--why is this so difficult for me? I don't think my thinking cap is on straight today.....................
Now, this looks right!! sigh! Onto the next step...................
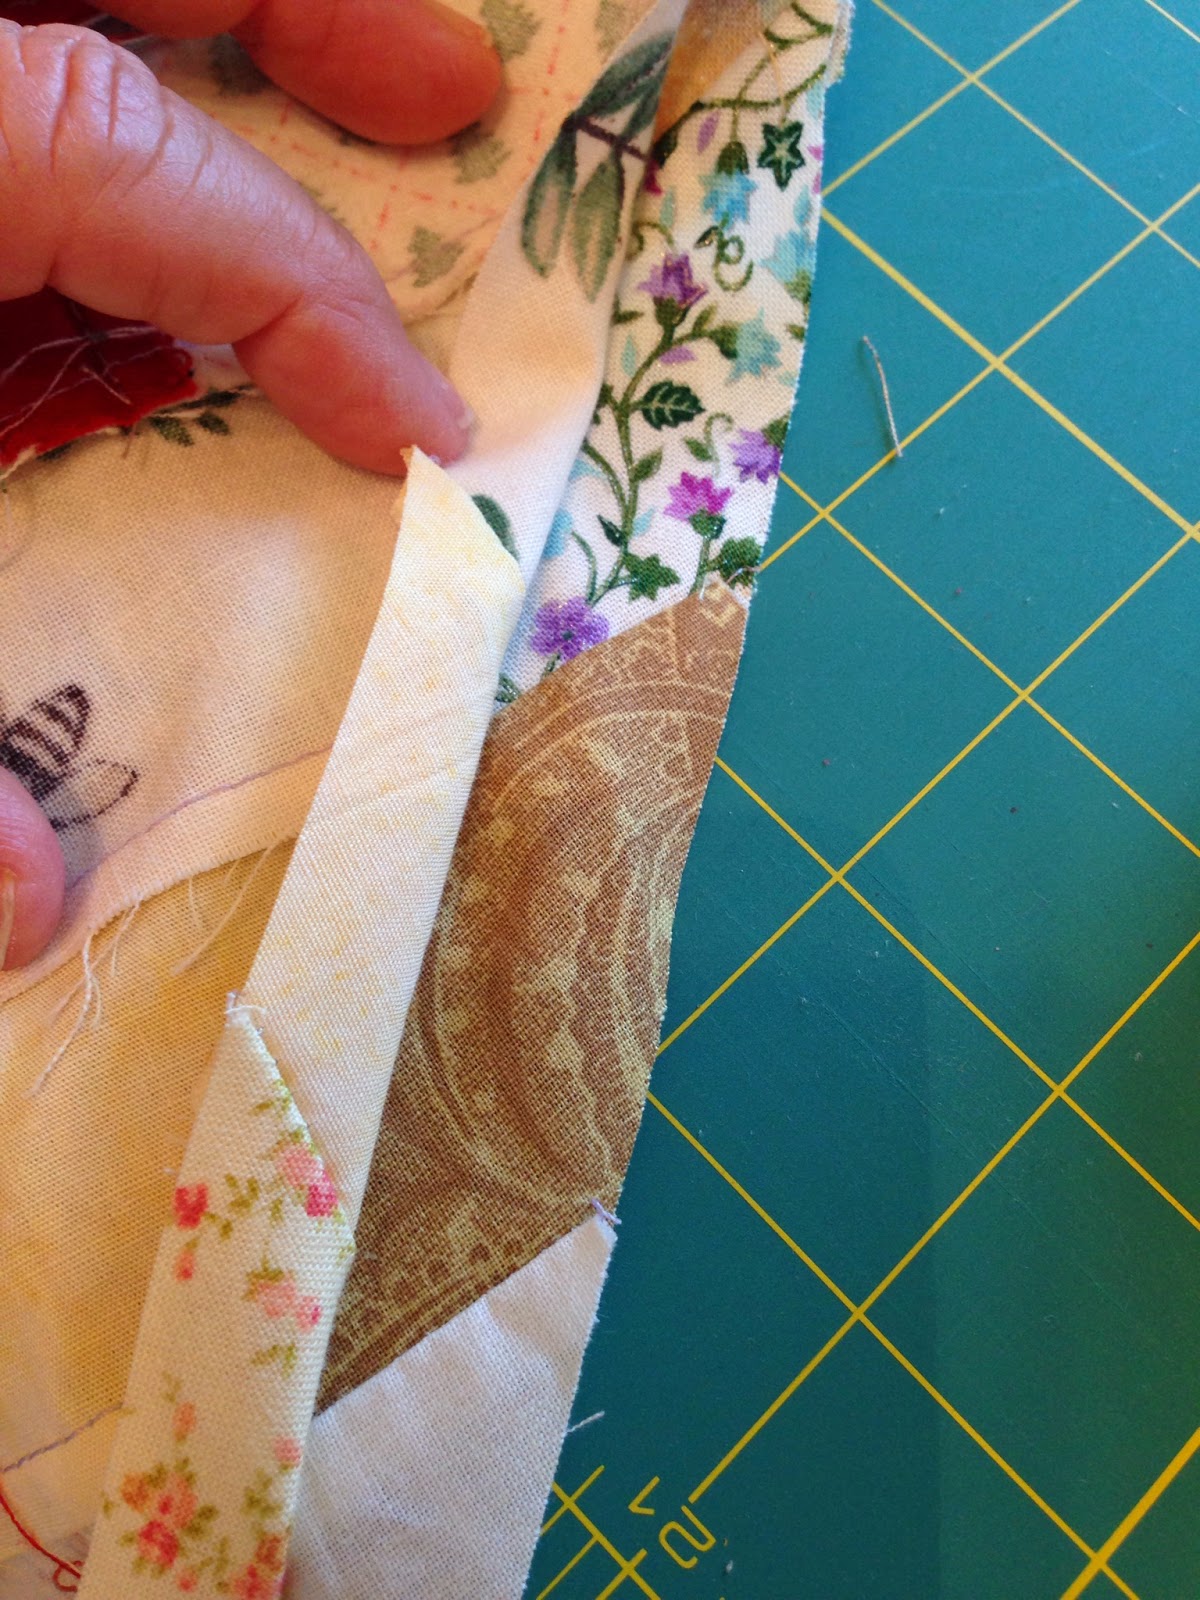
All those points must be trimmed and there has to be a way to keep each strip the same width...ah! I got it! Since my rulers are not 6.5" wide, I'll measure a template and use that!
and now there is an exact 6.5" width and using a straight edge, the strips can be trimmed. Onto the next step....................sewing strips together
Pinning in place is important--make sure all those whites match up perfectly!
First seam--good going!
Look at that would you?!! great match up!
and on and on I continue to measure, cut, pin and stitch--all 20 strips until we have finished
TEXAS BRAID! WOW! That wasn't so hard after all--it just took a little pushing from my alter ego--you got this, Gal! And off to the quilter it goes.................bring on the next challenge! and let's see if it can be finished in less than a year......................................


